JSON data
This feature applies to Mailtrain v1.17+
For additional flexibility Mailtrain allows you to use custom data for subscribers as a JSON field. This field is not indexed, so you can not use these values for creating Segments. You can use it modify the final appearance of the sent message as the data is rendered using a Handlebars template.
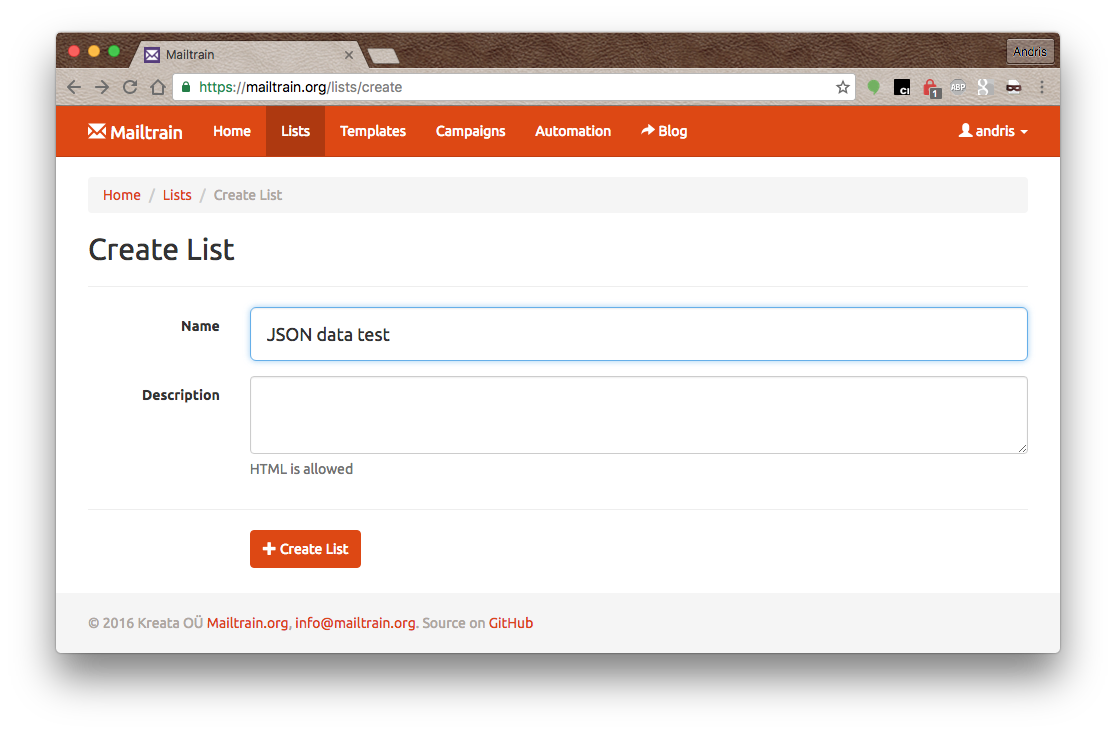
We start out by creating a new list. You can also use an existing one, it doesn't really matter, you just need a list.
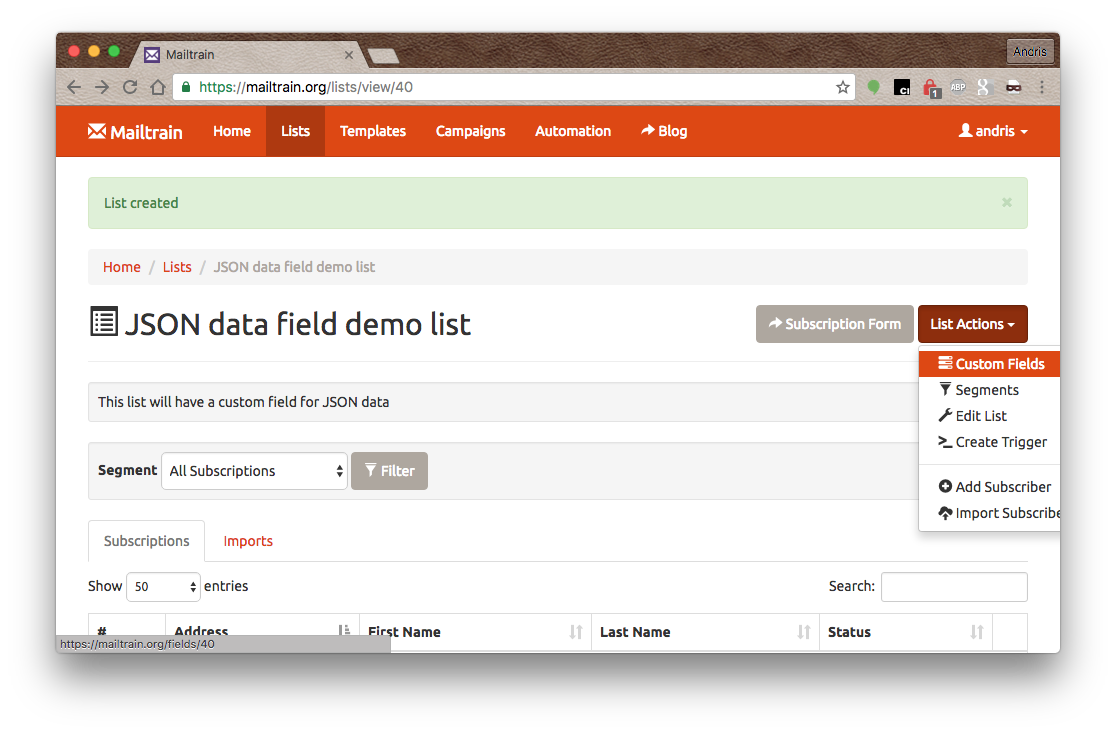
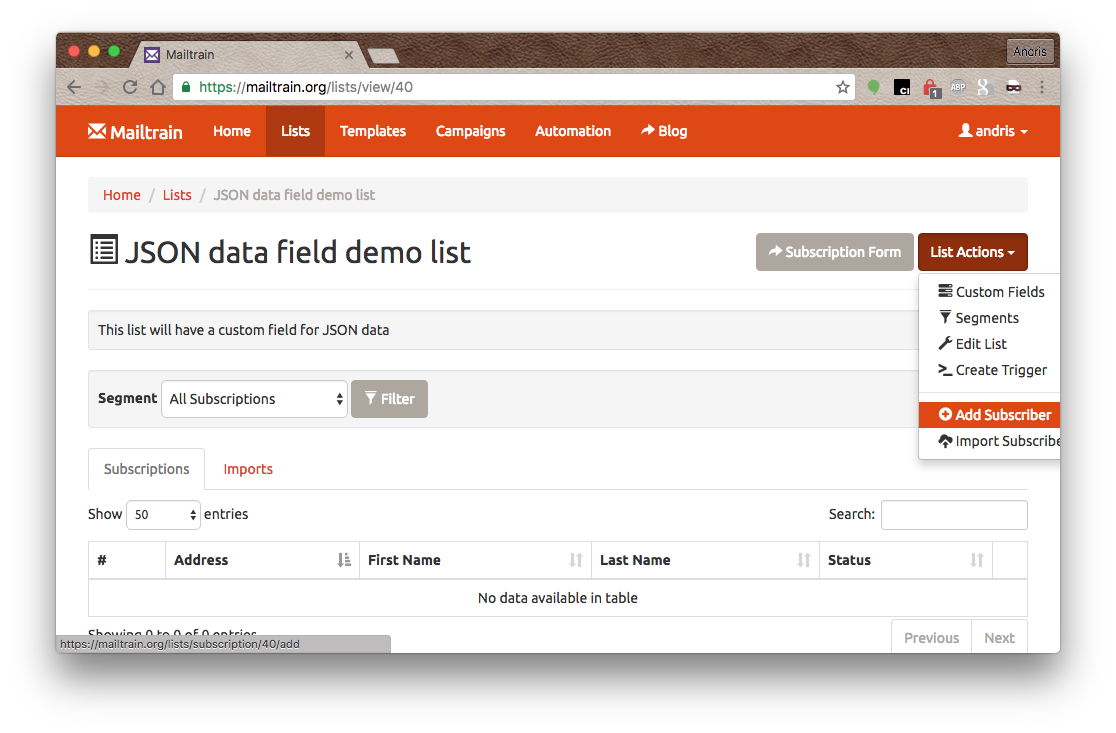
To store the JSON data we need to create a new custom field. You can find the link to custom fields from the "List actions" menu
Next click on "Create custom field" button and you should see the form for the new field. Select "JSON" as the data type. You should also provide a rendering template using handlebars syntax. If your JSON data is going to be an array, then you can access it by the name of values, if it is an object then you can access the object keys directly. In our example, we are going to use a plain array with strings as array elements. Thus we can enumerate the array using {{values}} and access array items by {{this}}
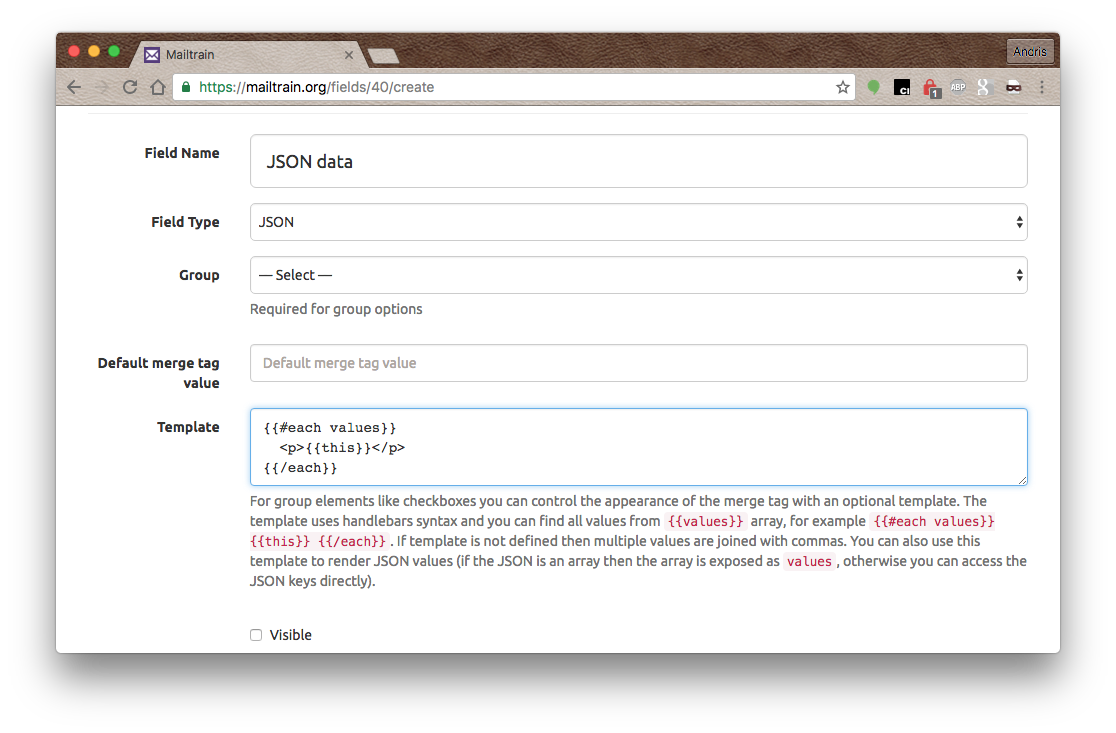
You probably would want to keep this field hidden from the user, so do not check the "Visible" checkbox.
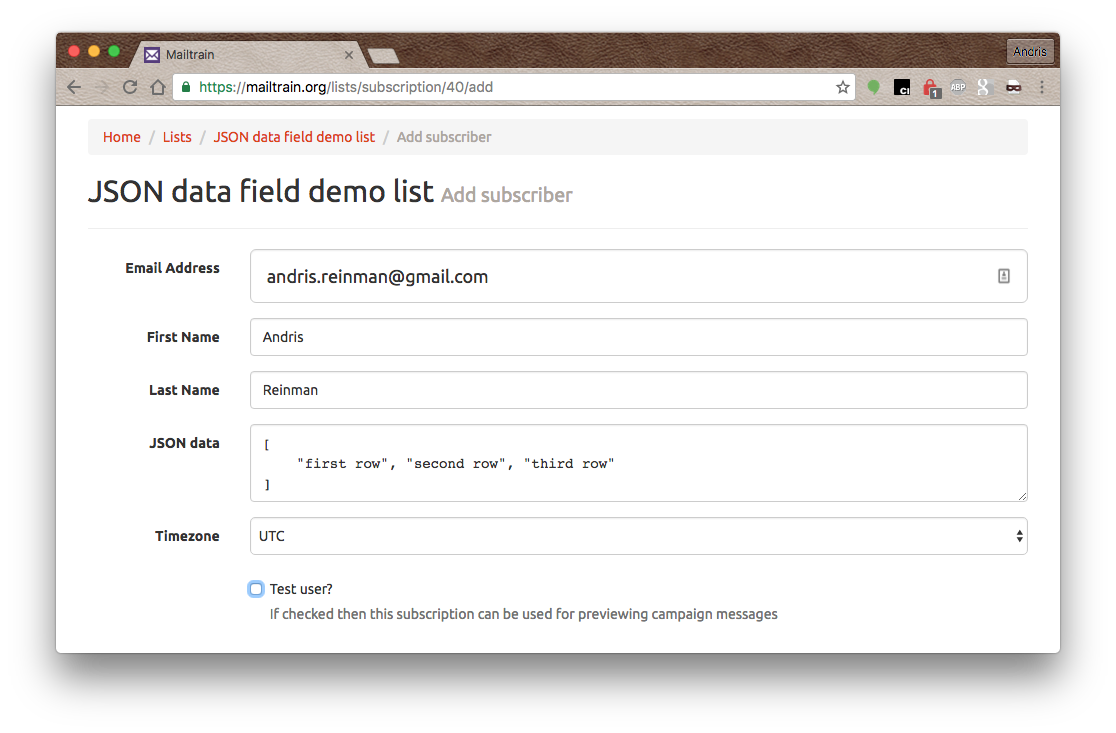
Once you have set up the JSON field you can add a new subscriber or modify an existing one to add the JSON payload data.
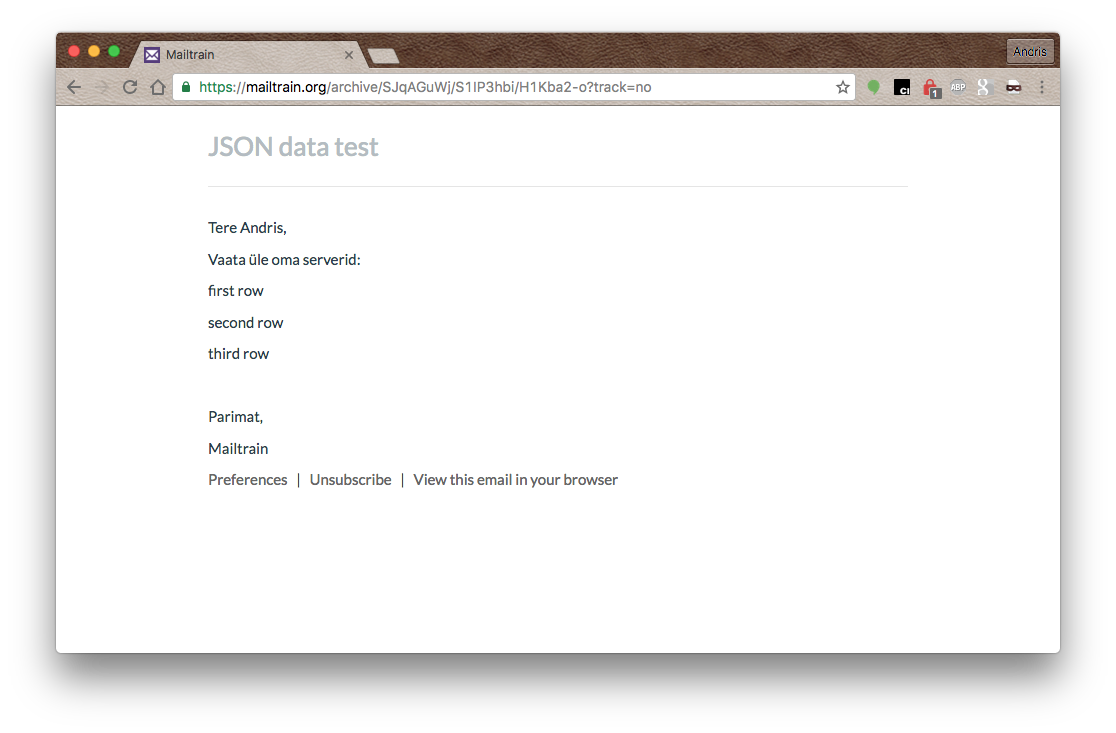
JSON data can be edited as a normal textarea field. Edit JSON directly or copy and paste it from some editor. In our example we use an array of strings that are rendered as separate <P> blocks
Edit campaign template and add the JSON field merge tag into it. This tag is going to be replaced with the output of the handlebars renderer.
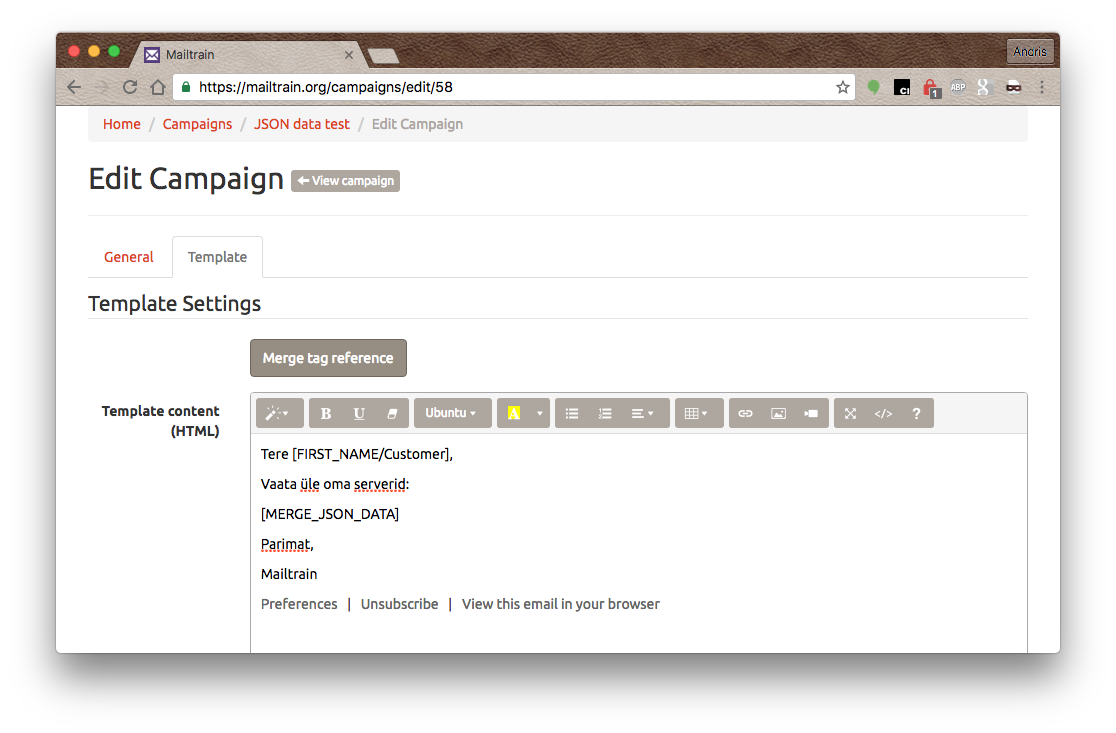
When you send out the message you should see the rendered handlebars output instead of the tag name