To programm the ESP, use the Arduino IDE, then follow this step :
- Go on File > Preferences, and change the URL of Board Manager with "http://arduino.esp8266.com/package_esp8266com_index.json", then click OK
- Now go on Tools > Board:Arduino one > Board Managers
- Search For "esp8266" and Click Install ( it will take a while )
- After installation go back on Tools > Board:Arduino one and click on "NodeMCU 0.9 (ESP-12E Module)"
- Now you can connect it and lunch the Load process
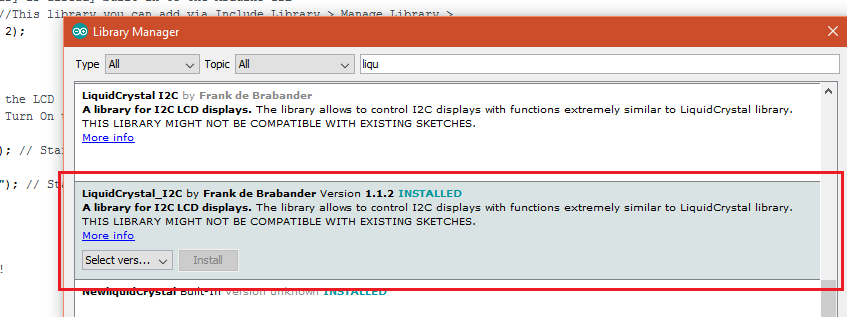
To run the display use this library :
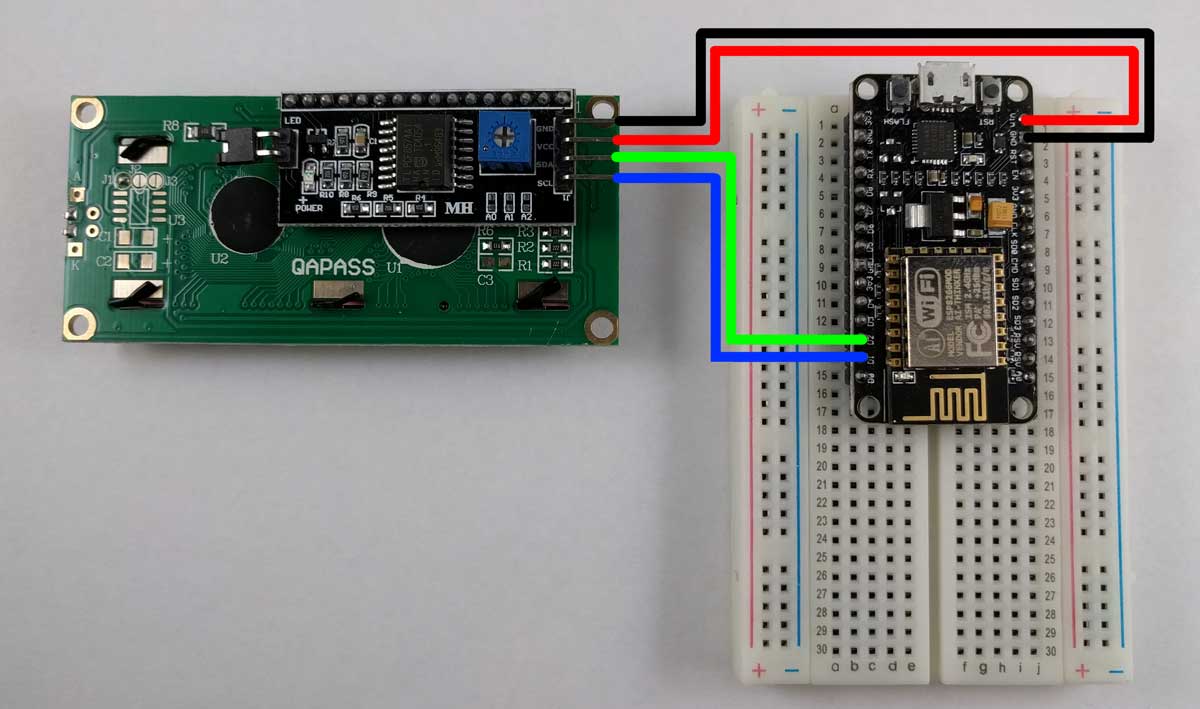
Then connect the I2C module to NodeMCU as here:
- D1(Nodemcu - SCL) –> SCL(LCD)
- D2(Nodemcu - SDA)–> SDA(LCD)
- +ve 5V power supply –> VCC(LCD)
- ground -ve –> GND(LCD)
Here a simple example you can use to test the library and the LCD.
#include <Wire.h> // This library is already built in to the Arduino IDE
#include <LiquidCrystal_I2C.h> //This library you can add via Include Library > Manage Library >
LiquidCrystal_I2C lcd(0x27, 16, 2); // If you are not sure of wich address your device has ( 0x27 for me),
//use a simple I2C scanner to find out ( have a look here --> http://www.mauroalfieri.it/elettronica/i2c-scanner.html)
void setup()
{
lcd.init(); // initializing the LCD
lcd.backlight(); // Enable or Turn On the backlight
lcd.setCursor(0, 0);
lcd.print("Hello"); // Start Print text to Line 1
lcd.setCursor(0, 1);
lcd.print("WORLD"); // Start Print Test to Line 2
}
void loop()
{
// Nothing Absolutely Nothing!
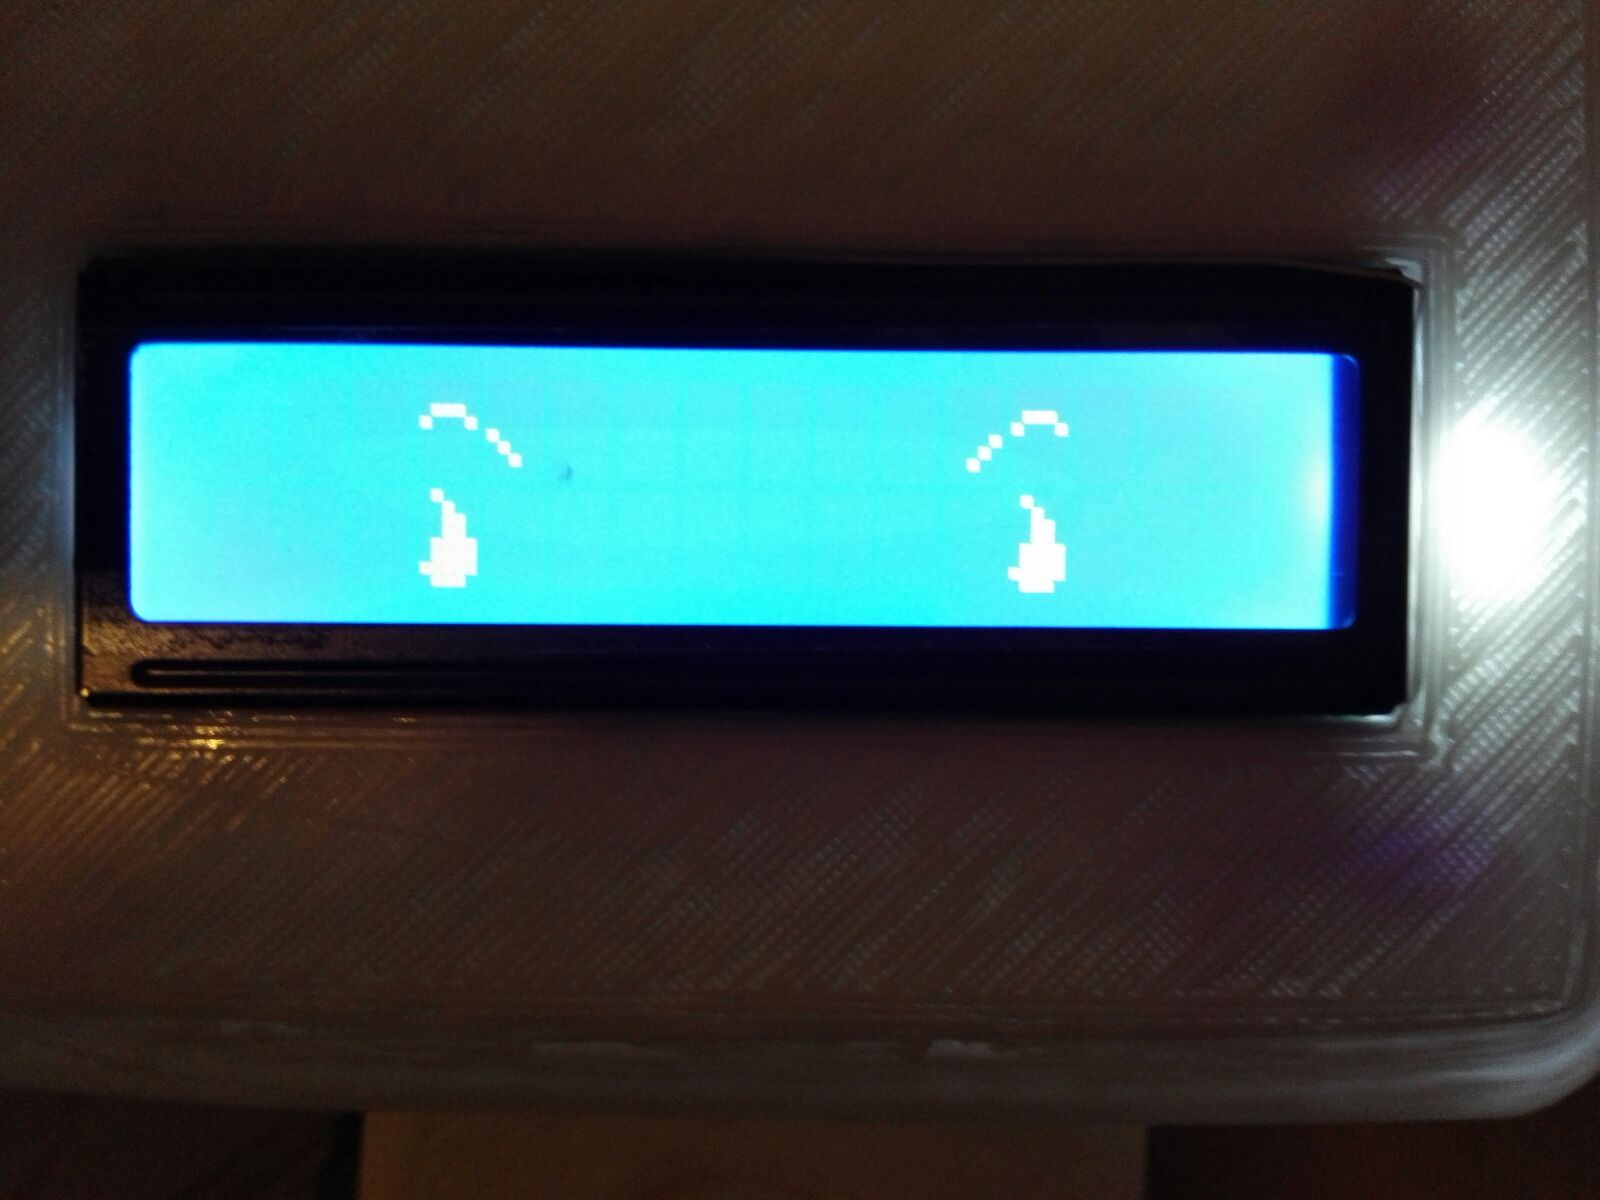
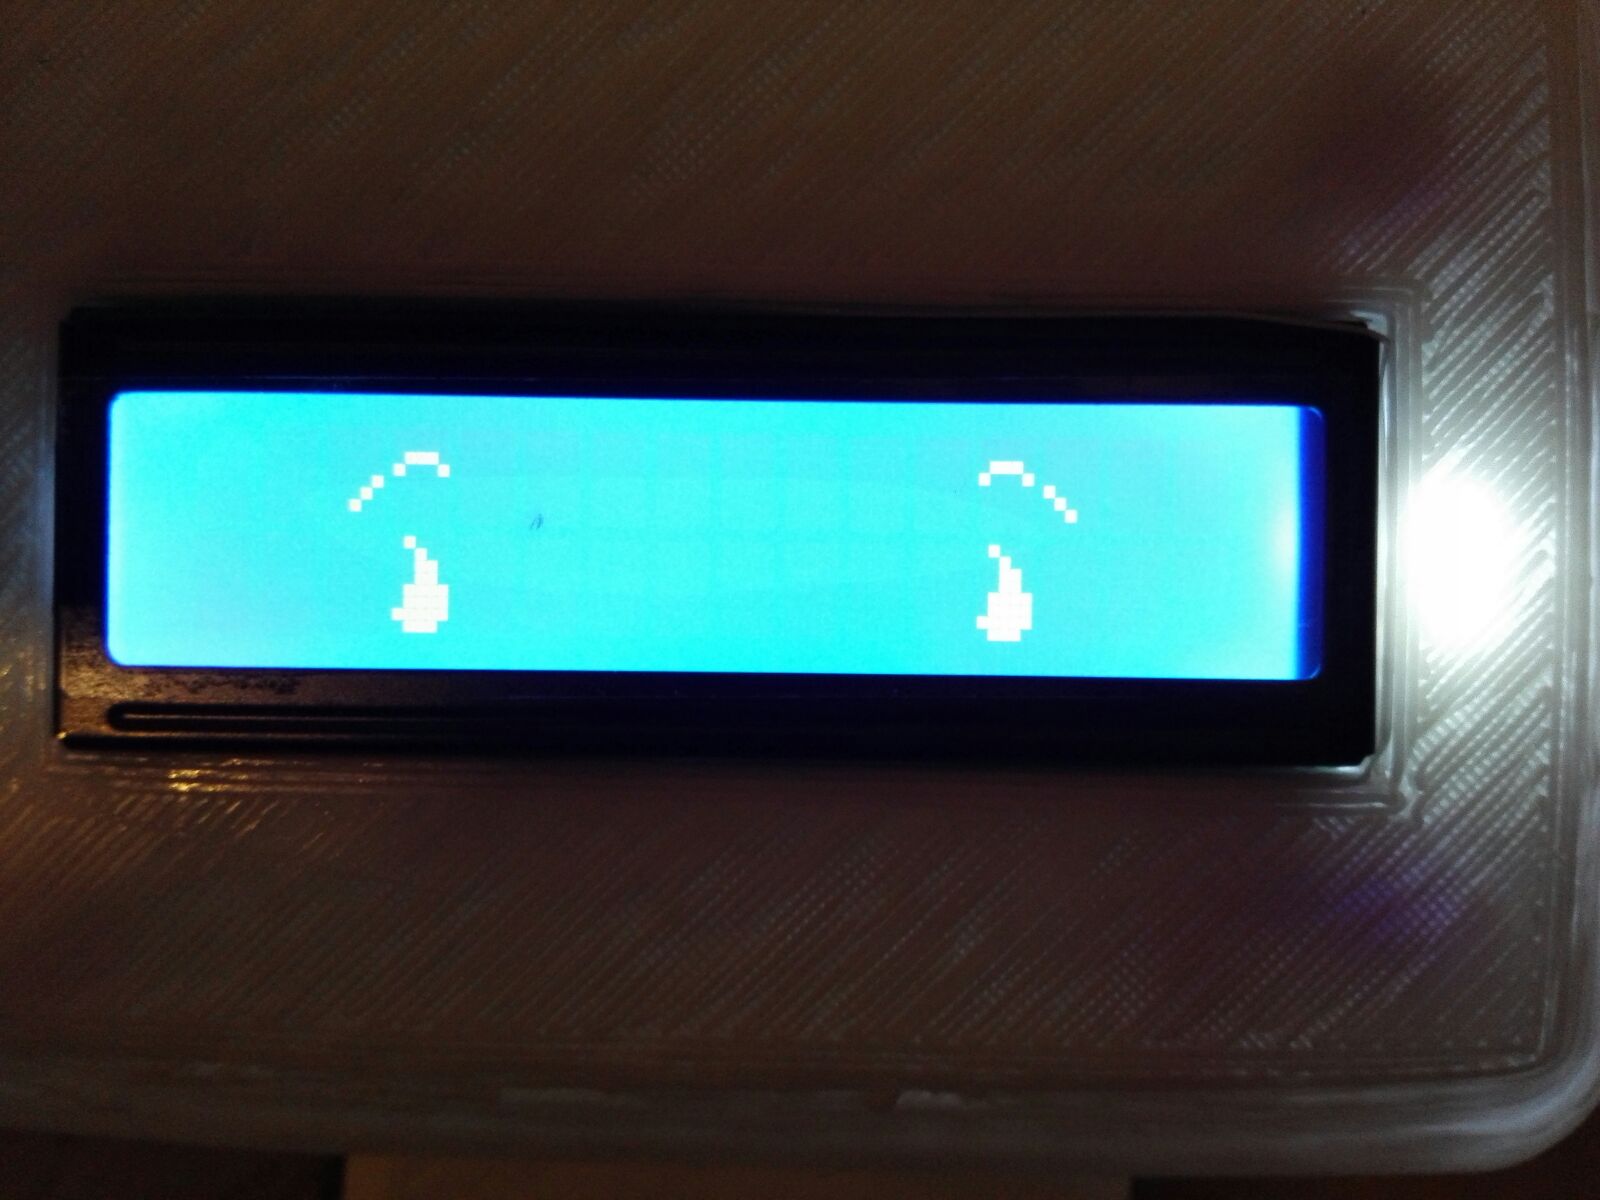
}###Blink Eyes Example
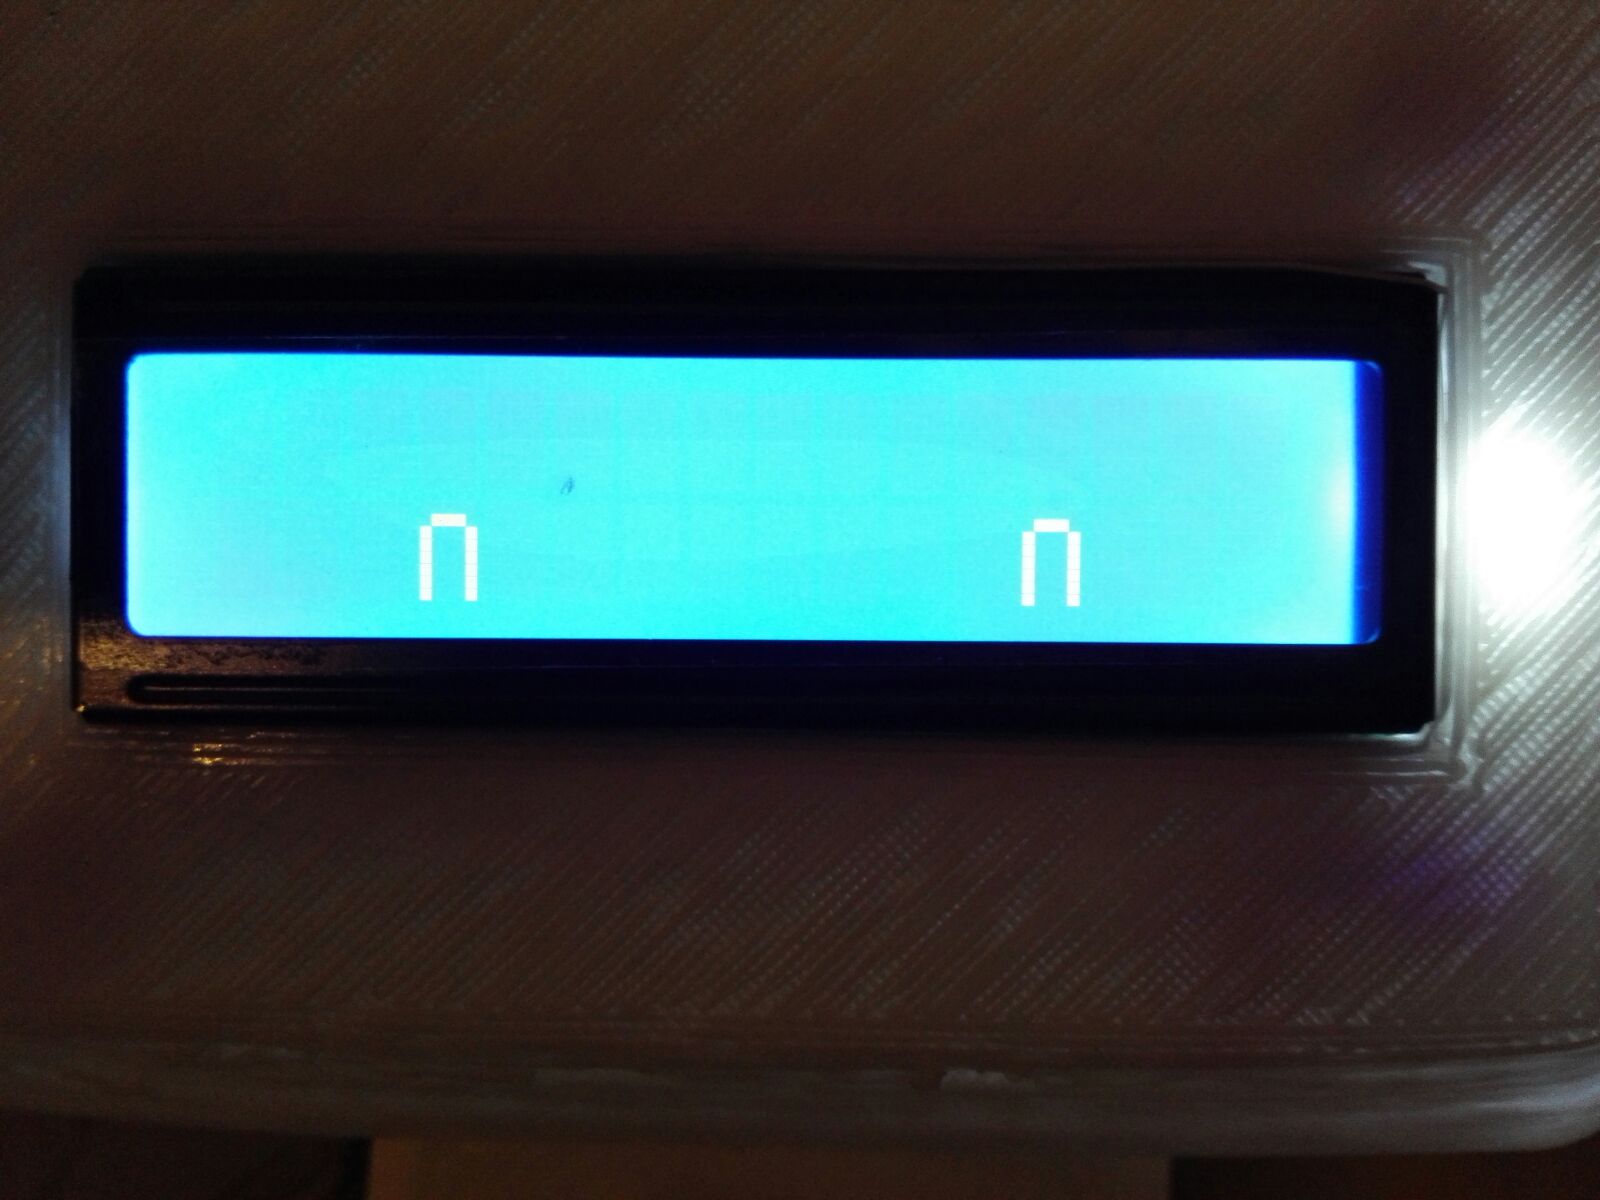
Based on LCD working example above, I wrote an example of blinking Eyes for creating an Emotive Robot with emoticon Eyes blinking randomly.
Here the result :
- BlinkEyesAngry
- BlinkEyesCute
- BlinkEyesNormal

- BlinkEyesHappy
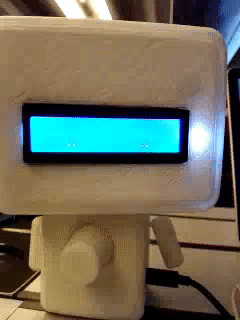
This is a little preview of my Emotive Robot :
If you have problem with address of your I2C ( as I wrote in the comment of above snippet), you can run a simple I2C scanner, like this : http://www.mauroalfieri.it/elettronica/i2c-scanner.html, and you will findout.