Installing in Affinity Photo
This page describes the G'MIC 8bf filter plug-in installation for Affinity Photo.
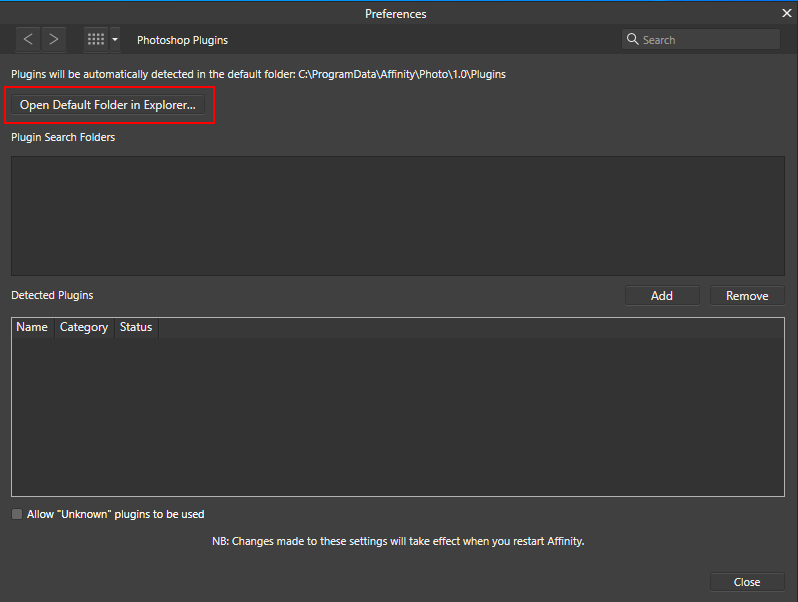
Start Affinity Photo, click the Preferences menu item in the Edit menu.
Select the Photoshop Plugins item, and then click the Open Default Folder in Explorer... button.
After unzipping the plugin you will have a folder to at looks like the following:
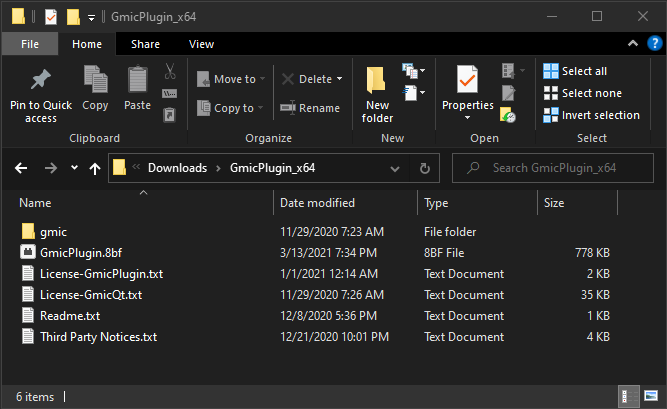
Select the GmicPlugin.8bf file and the gmic folder and copy it to the Affinity Photo default plugins folder.
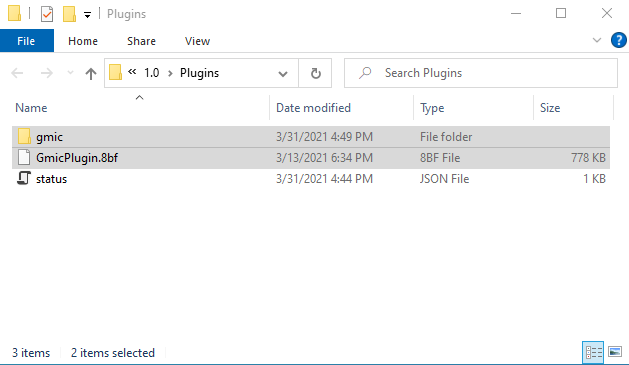
The following image shows how the Affinity Photo default plugins folder should look after the plugin has been installed:
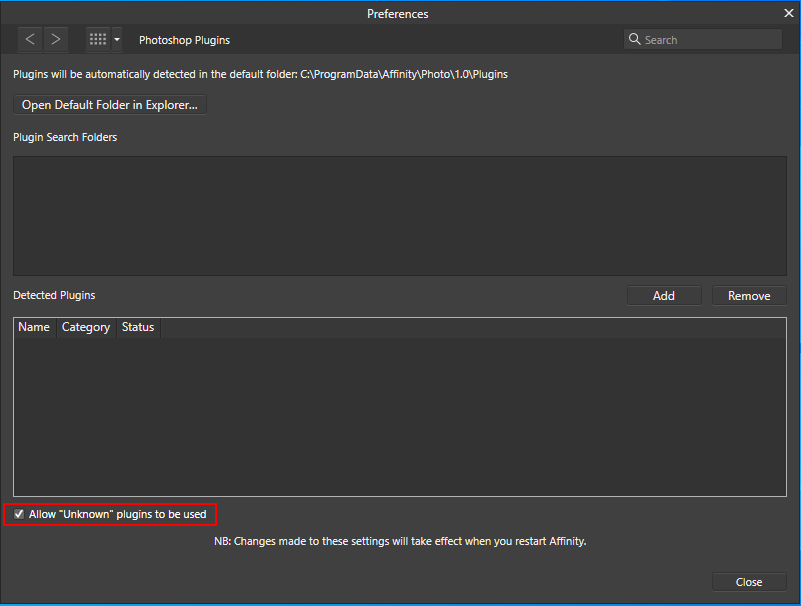
After placing the plug-in in Affinity Photo's default plugin folder you will need to ensure that the Allow "Unknown" plugins to be used check box is checked. By default, Affinity Photo will only load plugins that its developers have tested for compatibility.
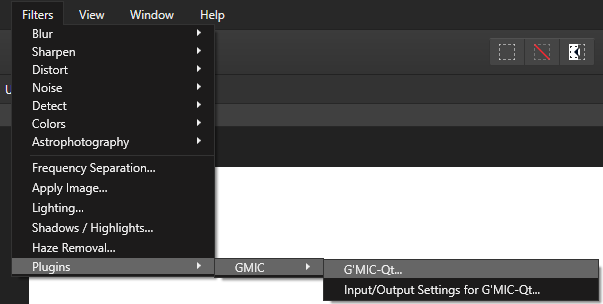
After restarting Affinity Photo the plugin can be found at Filters > Plugins > GMIC > G'MIC-Qt....